How To Do Acrylic Nails With Forms
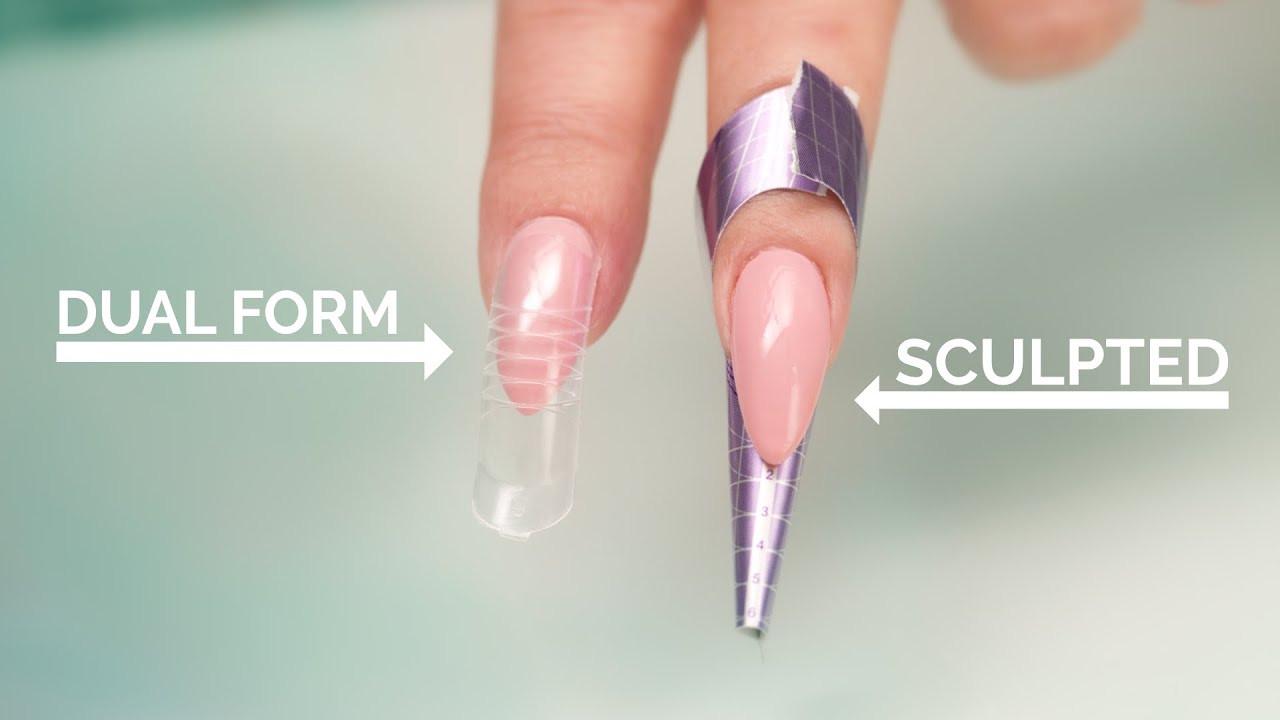
Dual Forms Vs Sculpted Acrylic Nails Youtube Diy Acrylic Nails Sculptured Nails Acrylic Nails

Nmkl 120pcs Box Full Cover Clear Dual Forms Nail System Uv Gel Acrylic Nail Mold Artificial Nail Tips With Sca Gel Acrylic Nails Acrylic Nails Artificial Nails

Polygeltutorial Beauty Easy Esfacil Poly Gel Nail Tutorial Gel Nails Diy Gel Nail Tutorial Polygel Nails

How To Do Nails Form Placement Sculpting Stilettos No Drill Youtube How To Do Nails Acrylic Nails At Home How To Do Acrylic Nails

How To Fit Your Nail Form Perfectly Nailcou Secrets Youtube Acrylic Nail Shapes Builder Gel Nails Acrylic Nails At Home

Kupa Inc S Ann Chang Shows How To Properly Apply Nail Forms For The Various Nail Shapes Almond Nail Ballerina Na Nail Forms Acrylic Nail Shapes Nail Shapes

Acrylic Form Application Procedure.
How to do acrylic nails with forms. How to Do DIY Acrylic Nails Saving Time and Cash with DIY Acrylic Nails. They are like stickers that are designed to be wrapped around each finger to keep them securely in place. This is the trickiest part about using a nail form.
While nail tips are glued on top of the nail nail forms are placed directly under the nail. Set the form under the nail. After you have filed your nails you are now ready to form them.
I used the ASP forms with Supernail sculpture gel. Diy acrylic nails how to do your own nail art fiberglass for uv gel 50pcs form application nailbees manicure ferramenta chablon wish tips vs forms 10 pcs silk non woven tuscom 100pcs extension Diy Acrylic Nails How To Do Your Own At Home Momskoop Nail Art Fiberglass For Uv Gel Diy Form Fibernails Acrylic Extension Tips Fiber Read More. However it was costing me about 50 a week or more.
I LOVE going to the salon and getting a brand new shiny set of acrylics or gels. Adjust the size of the curve to fit each nail. Get everything you need including product kits from only 1995 per week on a payment plan.
The nail form should be snug around the finger and fit the shape of the nail perfectly before you start any application. Besides being brutally painful it can also cause irreparable damage to the nail plate. Damaged nail matrix.
To do acrylic nails start by buying an acrylic nail kit from a beauty supply store and setting up a work space in a well-ventilated area since acrylic fumes can be toxic. Look at the shape of the hyponychium where the nail separates from the skin and cut out the form to match the shape. This spot should be just slightly bigger than the top part of your nail.
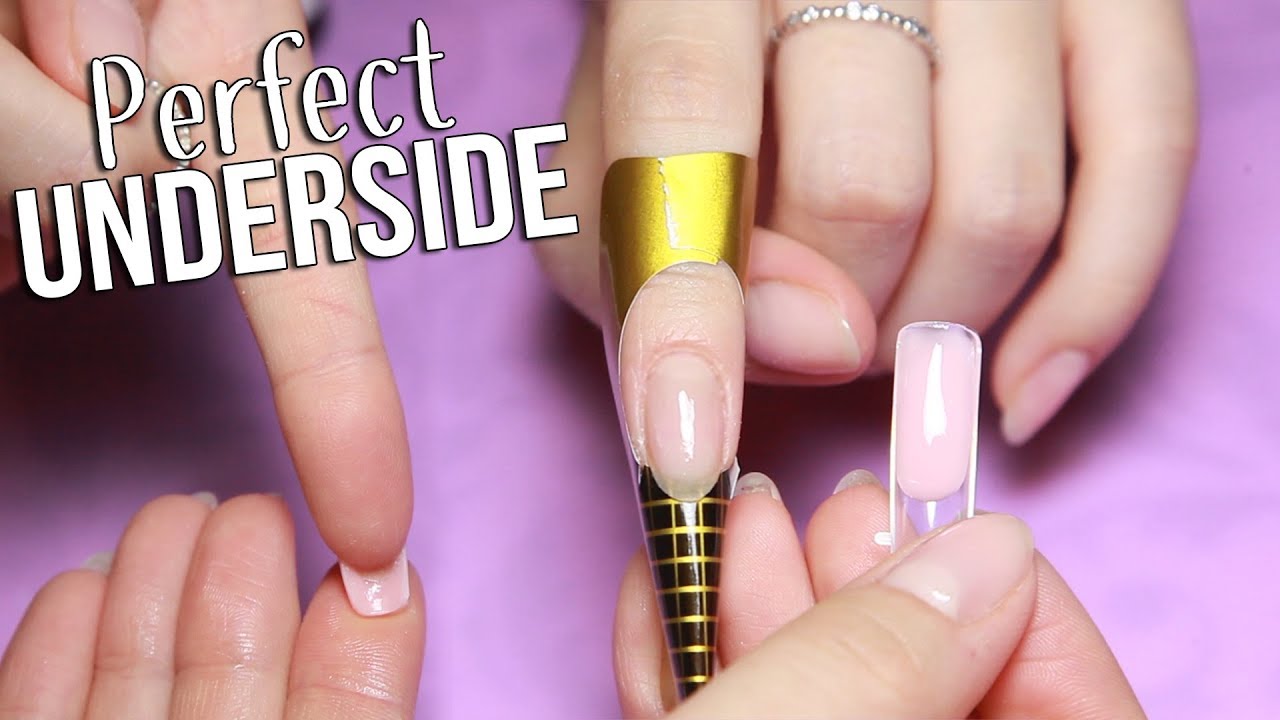
11 Dual Form Hack Perfect Underside Youtube Hard Gel Nails Gel Nails Diy Diy Acrylic Nails

10pcs Silk Fiberglass French Acrylic Non Woven Silks Uv Gel For Nail Extension Form Building In 2021 Nail Extensions Fiberglass Nails Silk Nails
Pin On Nails Acrylic Nail Kit Hard Gel Nails Gel Nail Tutorial


